
Learn to knit Stacked Decreases
Some knitters have been asking about stacked decreases lately. In response, I've put together this article, a video tutorial, and a free pattern that uses this technique in a few ways. Since publishing my Bear Claws and Fox Paws patterns, there have been many emails from knitters asking whether they're interpreting the pattern right or wondering how I took these stitches and put them together into a pattern.

I'll go over the basics of how to do the decrease here, then, in the next article, we'll move on to some design tips.
Stacked decreases are basically a lot of decreases worked on top of each other as the name suggests.. It's not too complicated, but you'll have to slip stitches back (SB) to create the stack. It may feel like you're doing the wrong thing at first, but you'll see in the video how the SB stitches look. You'll find instructions for the green swatch shown in the video below in case you want to follow along.
Decrease row: K1, *K3, K5tog, [SB2, K3tog] x 2, repeat from * 4 more times, K1. (26 sts)
Work a few more rows to stabilize the swatch, then bind off.
 Step 1: cast on and begin the row following the swatch instructions or the instructions in your pattern.

 Step 2: K5tog. S2K3P2SO will work just as well if you have a hard time with the K5tog.

 Step 3: SB2. These stitches will now be worked again.

 Step 4: K3tog. You have now decreased on top of your original K5tog.
 Step 5: Repeat the "SB2, K3tog" sequence again as instructed in the pattern. For example in the swatch instructions, it says [SB2, K3tog] x 2. after steps 3 and 4, you'll need to "SB2, K3tog" once more for the correct decrease.

Then continue on with the row as instructed. You've completed the stack of decreases!
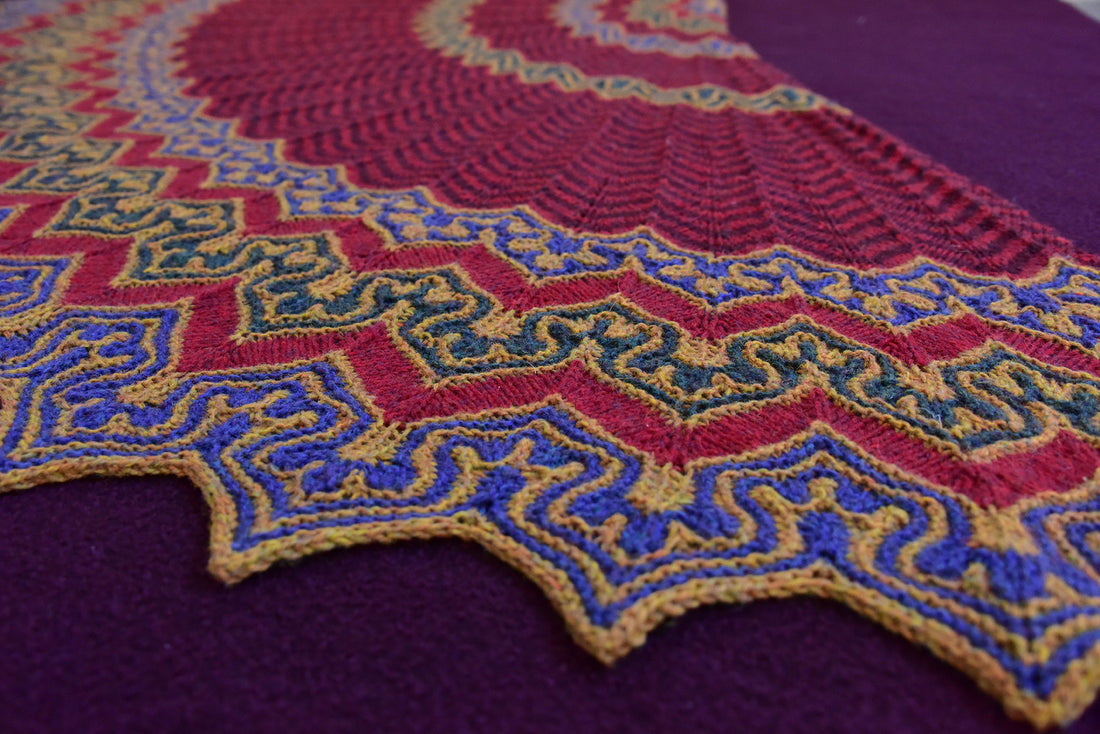
If you want to get some more interesting practice with stacked decreases, this oak leaf is a great way to use them without diving into a big project.
You can also read the next article to learn more about adapting this technique for your own projects and patterns.
I'll go over the basics of how to do the decrease here, then, in the next article, we'll move on to some design tips.
Stacked decreases are basically a lot of decreases worked on top of each other as the name suggests.. It's not too complicated, but you'll have to slip stitches back (SB) to create the stack. It may feel like you're doing the wrong thing at first, but you'll see in the video how the SB stitches look. You'll find instructions for the green swatch shown in the video below in case you want to follow along.
Swatch instructions:
CO 61 sts using the long tail cast on method.Decrease row: K1, *K3, K5tog, [SB2, K3tog] x 2, repeat from * 4 more times, K1. (26 sts)
Work a few more rows to stabilize the swatch, then bind off.
Stitch Definitions
CO - Cast on
K3tog - Knit 3 stitches together.
K5tog - Knit 5 stitches together. Or use S2K3P2SO instead.
S2K3P2SO - Slip 2 stitches knitwise together, K3tog, pass slipped stitches over.
SB - Slip back to left needle.
Then continue on with the row as instructed. You've completed the stack of decreases!
If you want to get some more interesting practice with stacked decreases, this oak leaf is a great way to use them without diving into a big project.
You can also read the next article to learn more about adapting this technique for your own projects and patterns.


